Sunday, March 30, 2014

Under-Eye Circle Video

3-29-14

     I was curious about this video, because it seemed like a different way to use the Stamp Tool. I carefully studied the differences.

     It looks more like a Soft Brush Tool than a "Stamp". It's used for removing under-eye circles, pimples, and neck-lines (all useful things).

    The trick seems to be to go to the "Mode" of the Clone Stamp and change it to "Lighten". You have to change the Opacity lower, to 20%, to make the effect gradual & invisible.

     The recommended brush is big, soft, and round. You start by choosing a stamp from a light area. That's where the similarity to stamping stops. From then on, you hold the stamp down and "sweep" it over the area you want lightened.

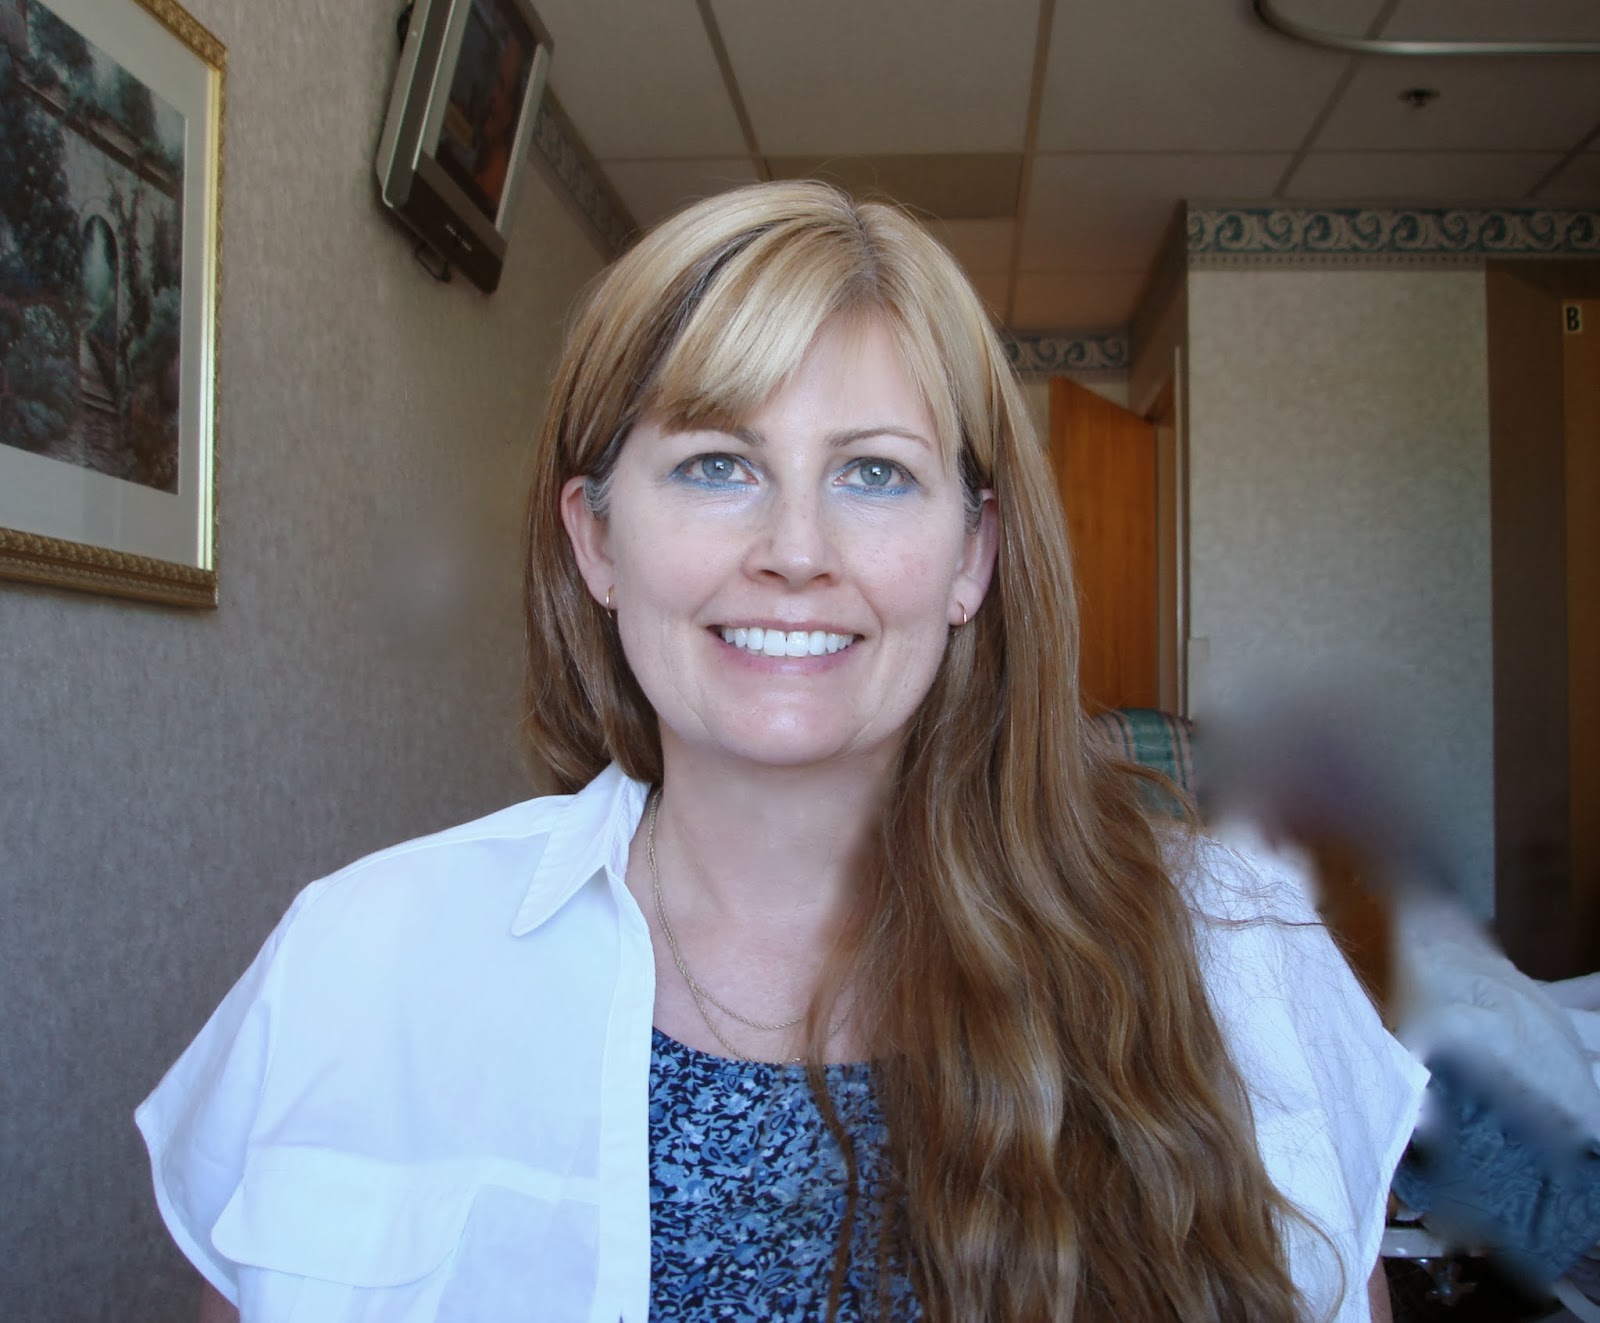
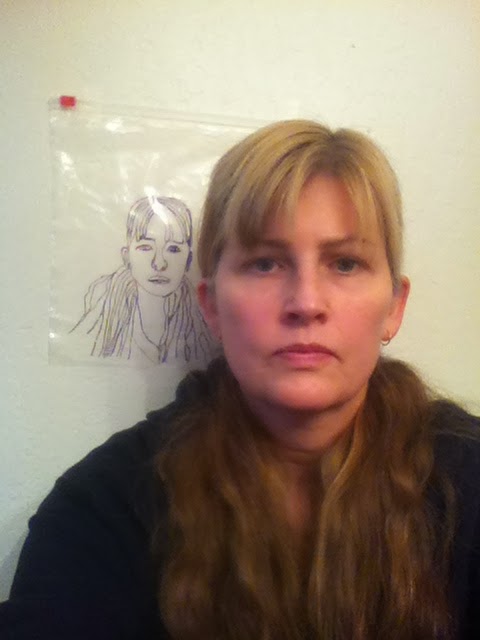
     I took my original picture of Mary, and swept around her right eye. I didn't touch the left eye. The circles under the eye immediately disappeared.

     The affect was subtle,... too subtle. The rest of her face wasn't smoothing out with such a light touch. I swept all around her eye and her cheek. Directly below the eye looked good, but above the eye looked untouched.

     I got so bored with the lack of change that I had to stop. I did the right thing using the full Opacity "Stamp" when I did the homework project. I was looking for an alternative. This isn't it.

https://www.youtube.com/watch?v=Ib32GXYxeHQ

     Look at just the right eye that I did.


Thursday, March 20, 2014

Stamping Video

3-20-2014

     I love the Clone Stamp,...  love, love, love.  I even changed the name. I call it the Stamping Tool.

     I love hair, so I use it to make hair.

     I found a video that's not too advanced. Some of them were pretty complex. I might go back and do something on the one that removes dark circles under the eyes (God knows we need that).

https://www.youtube.com/watch?v=ybuOwk0a3jU

     I'm giving an example of how I use the Stamping Tool to make crazy hair. If you notice, her hair is now bigger than the original picture.  Bam!

Wednesday, March 19, 2014

Quick Selection Tool Video

3-19-2014
  
     I was having trouble following most of the PhotoShop videos, because they were too complicated.

     I wanted to get more familiar with the Quick Selection Tool.  Many people use the Quick Selection Tool, because it's fast & easy.

     I found this Easy-to-Understand video:  https://www.youtube.com/watch?v=Mns8sSqkbJE

     I used it to select the lady's dress and change it to Blue, because I like blue better than red.  After I had it selected, I did a Hue/Saturation Adjustment Layer. It worked very well.

     Yes, I was very proud of myself.


Saturday, March 15, 2014

Lee's Email About Photoshop Assignment

3-15-2014

     I just read Lee's email about our assignments. She wants them posted on our blog.
I actually posted my Kitty-bunny down on 2-28-14.
     I posted my "Model" photo above that, still on 2-28-14.
I posted my "Zombie" assignment on 3-8-14.
     I will really miss everybody making silly comments, in class, about all the assignements. I will have to look up and see what everybody did.
     Mary really loved her "Zombie" photo. She had me print it up, and she's going to show all her friends when she goes visiting.


Saturday, March 8, 2014

MacBook iPhoto Retouch

3-8-2014

     I was talking to my teachers Lee and Jayna, and I told them about a feature I found on my 7 year old MacBook.
  
     I was in the hospital, visiting my Dad after heart surgery last Summer. I had him take my picture. I realized there was lady sitting behind me that I didn't even know. We went to the reception room and took another picture. The dark wood paneling cast a dark shadow over my face.

     I liked the original picture best. I was facing the window, and there were no shadows. In addition to the strange lady behind me, I also didn't like the wrinkle lines on my neck. There was also a crooked calendar on the wall, overshadowing my ear.

     I plugged my camera into my MacBook and got into iPhoto. I went to "Edit". I hit "Retouch" which has a picture of a paintbrush. It has instructions, "Drag over the affected area."

     I dragged the paint brush over the lady behind me, and she blurred into the wallpaper. I dragged over the rumpled sheets, and they blended into the bedspread. I "brushed" away the calendar, and it blended into the wallpaper. I "brushed" over the lines on my neck, and they disappeared (happy day!).

     I was able to go back and forth between different tries, but once I saved it and left "Edit" I couldn't get the original back. Now, even if I plug in the camera, I can't get the original picture back. iPhoto adjusts it every time.

     So... now I have the edited version, but not the original.


Zombie Mary

3-8-2014

      The next part of our PhotoShop assignment was to make our "model" into a zombie.

      I imported 2 skulls, 3 sets of teeth, an eye, a brain , and 3 sets of flames. I got a little carried away with the blood. I had to cut-out away from her hair, because blood was all over the room. When I went to give her more hair, I had cut it away. At Lee's suggestion, I imported more hair. Then I couldn't find it. I put the hair under her face, but I found the layer at the very top, the last layer of flame I put in. I brushed away the flame, and there was the hair. At last!

Sunday, March 2, 2014

Drawing Project

3-2-2014

     The next assignment we have in Art class is to draw a picture of ourselves. In the first Graphic Communications class I took, we learned that tracing can be an important tool to getting your image onto the computer, as in the use of Illustrator.

     For this assignment, the first part was to trace an image of ourselves, onto plastic, in the mirror.
     I was so fascinated by the result, that I took a picture of it.
    
     Does it look like me?  You decide...

Mechanic Painting

3-2-2014

     My friend has a painting that has become very symbolic to me. It reminds me of an assignment we had in the Art class that is part of the Graphic Communications degree. We had to make a collage. It involved cutting out shapes and pasting them to a picture. The result had a 3 dimensional affect.

     This painting actually has cut out shapes pasted onto it. It has a 3-dimensional look. He does alot of inventing of mechanical, metal things. When I look at the painting, I see metal, pieces fitted together, and even rivets.

     He bought this painting at a furniture store in LA, on sale for $75, in 1993. It's very similar to some of the techniques we learned in Art class. It shows that those skills have a market and can be enjoyed for years.