Thursday, April 17, 2014

Ebook Cover

4-17-14

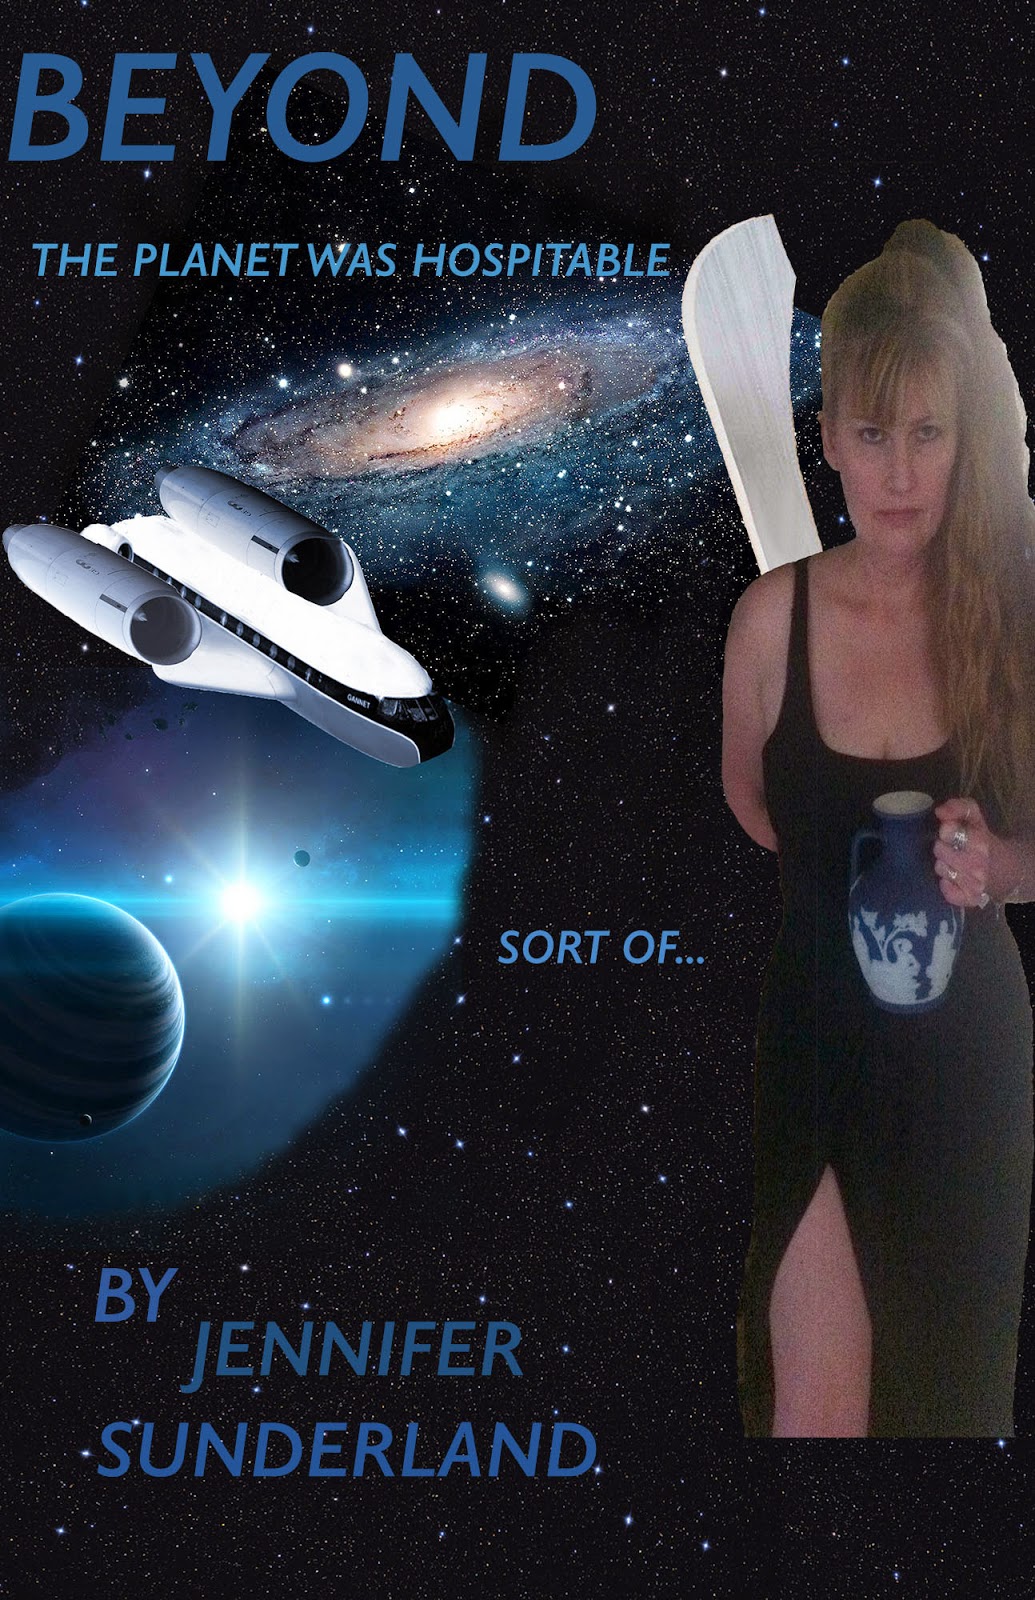
     One of my goals for my Photo Shop class was for me to be able to make a book cover for an ebook. When someone signs on to look at your ebook, all they see is the cover.

     I wrote a space ship story, last summer, and I wanted a cover for it.

     I used the concept for my Movie Poster assignment. To make a book cover, I removed the movie credits, and added "By ...."  

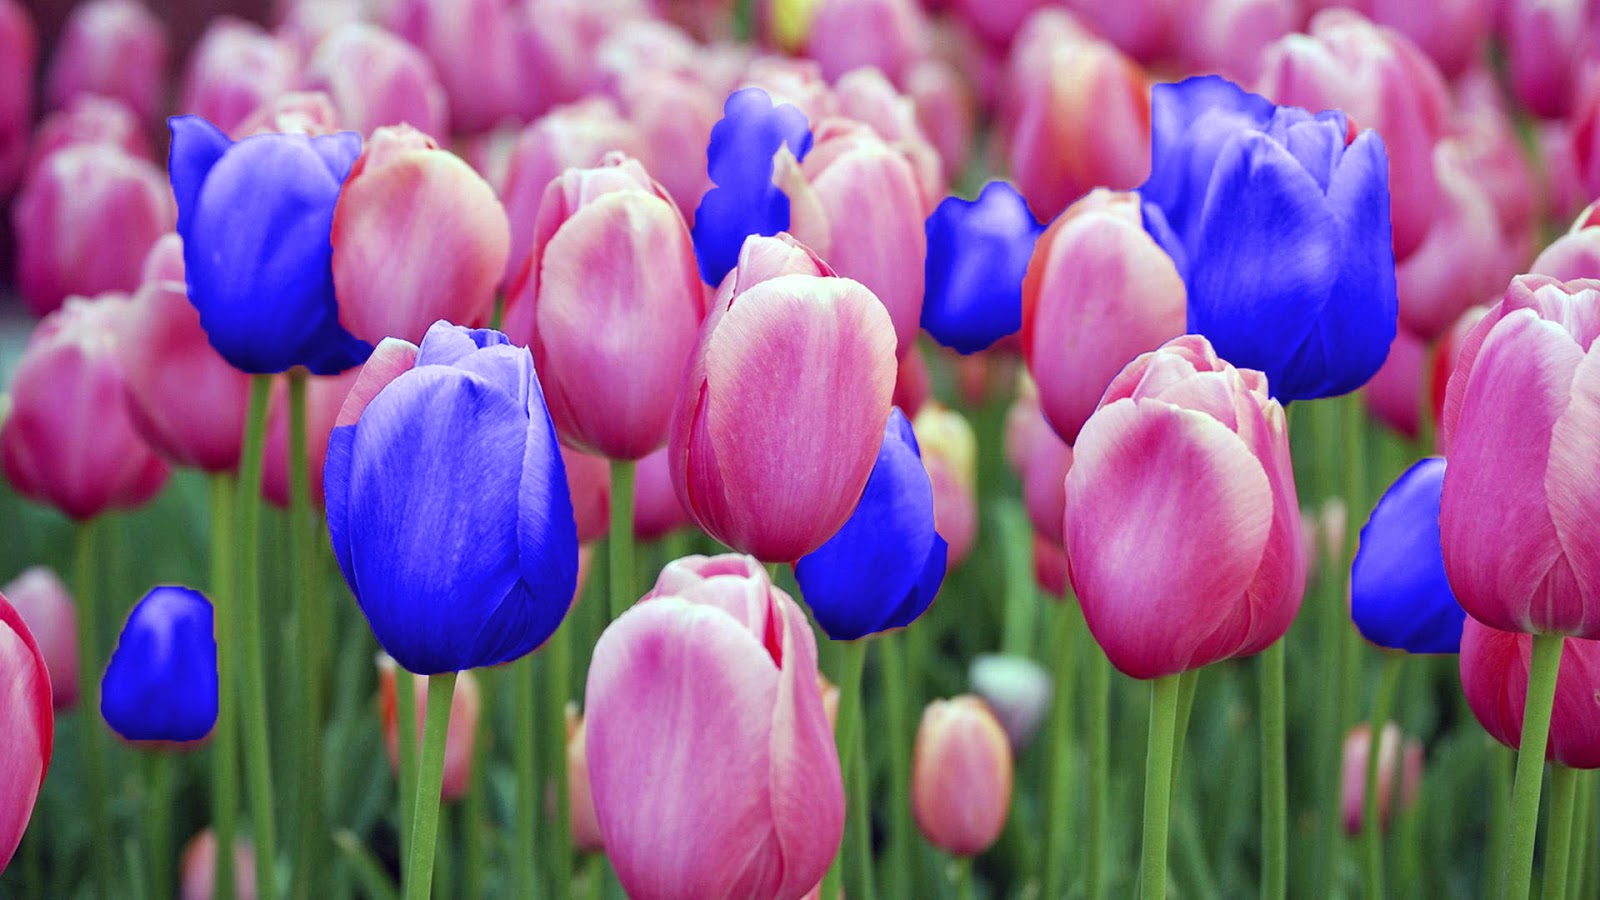
     The trickiest part was the size. I figured out how to go into "Image" and change the image size. Very fun.

     Anybody can go to barnesandnoble.com and put "Jennifer Sunderland" into the search.  My Nook Book "Beyond" will pop up for $2.99.

     The name will update to "Beyond: Change Your Fish" within 24 hours. I just realized that there are 1,200 books called "Beyond" on Barnes and Noble.

     Here it is...

Friday, April 11, 2014

Movie Poster Assignment

4-11-14

     Our latest assignment was a big Movie Poster. It utilized many of the skills we've been learning.

     I had to make many different layers with masks for coloring and shading. I did some fading and matching. I used the "Credit" writing that I discussed in the last post.

     It was fun, and the finished project reflects all the work I put into it.


Thursday, April 10, 2014

"Vector Me Up, Scottie."

4-10-14

     This week, Lee taught us about Vectoring. Vectoring is about drawing lines in Photoshop. It's very similar to Adobe Illustrator.

     I didn't save the exercise we did in class, but because Lee gave us knowledge, I was able to do it again.

     Vectoring is done with the Pen Tool. It looks like an old fashioned pen that you would dip in ink. Do not put ink on your computer.

     We uploaded an image of a Logo from the internet. Then we traced over it, with the Pen Tool.

     We learned how to select the Shape Layer Group and change colors. It was very fun.

     You start with a "click" dot and make another "click" dot. You move the handle of the dot around to shape your picture. Before you let go, press Alt and bring your handle back in and tuck it around the edge, so you can make tight corners. Make sure you complete your shape, before quitting.

     I made a twirly image very similar to the logo I selected, but with jazzier colors.  I deleted the layer with the original logo, to save only my new image.  Ta da!

Monday, April 7, 2014

Credit Where It's Due

4-7-14

     We learned a very cool feature in Photoshop where you can write "Credits" like the movie poster credits we see when we go to the movies.

     First, you get with Lee to save the Font "Steel Tongs" and save it on your flash drive.
     Then, you Open up something in Photoshop.
     Go to your flash and find "Steel Tongs". Open it. There are 2 Fonts and a text document.
     Open a font, click "Install". Open other font, click "Install".
    
     Open the text document. Copy the web address and paste in on your browser, thereby going to the site. It's a picture guide to what symbol to push for what movie credit.

     Cut your screen in half, so you can work on your Photoshop document and study the picture guide at the same time.

     You might push an apostrophe and get a credit "Story by", for example.

     If you don't find the word you are looking for, write it really small with your font size-selector.
     Of course, you do all this with the Type Tool in Photoshop, once you have chosen your font as "Steel Tongs".

     I made these credits for my Movie Poster Project.  Very official looking.


Color Crazy

4-7-2014

     I like to use a Mask on a Layer to change colors. I am very particular about colors. I want to get the exact shade and brightness, without looking opaque or blotchy.

     First, I Select the objects in the picture I want to change.
     Then, I Click on that Layer, in the Layer Panel.
     I go up to the Adjustment choices and click on the one that looks like a bunch of squares, on the left, second row down. That's the Hue/Saturation.

     A panel will pop out. You have to click the square on the bottom, with bent arrow sticking out of it. That will allow you to change the color of your object, without affecting the whole picture.

     Put a check mark in the box that says Colorize.

     Now you can play with the sliders that change the Lightness, Saturation, & Hue, to your heart's content.

     If you leave the panel, to do something else, and you want to come back to it: Click on your Layer, click on the square with the brackets around it (double click it if you have to, to get it's attention), then (still on your desired Layer) click on the round thing with the brackets around it, on the left side of your Layer (not the eye). This will make your color panel pop out again, so you can play with it some more.  Very fun!

Sunday, March 30, 2014

Under-Eye Circle Video

3-29-14

     I was curious about this video, because it seemed like a different way to use the Stamp Tool. I carefully studied the differences.

     It looks more like a Soft Brush Tool than a "Stamp". It's used for removing under-eye circles, pimples, and neck-lines (all useful things).

    The trick seems to be to go to the "Mode" of the Clone Stamp and change it to "Lighten". You have to change the Opacity lower, to 20%, to make the effect gradual & invisible.

     The recommended brush is big, soft, and round. You start by choosing a stamp from a light area. That's where the similarity to stamping stops. From then on, you hold the stamp down and "sweep" it over the area you want lightened.

     I took my original picture of Mary, and swept around her right eye. I didn't touch the left eye. The circles under the eye immediately disappeared.

     The affect was subtle,... too subtle. The rest of her face wasn't smoothing out with such a light touch. I swept all around her eye and her cheek. Directly below the eye looked good, but above the eye looked untouched.

     I got so bored with the lack of change that I had to stop. I did the right thing using the full Opacity "Stamp" when I did the homework project. I was looking for an alternative. This isn't it.

https://www.youtube.com/watch?v=Ib32GXYxeHQ

     Look at just the right eye that I did.


Thursday, March 20, 2014

Stamping Video

3-20-2014

     I love the Clone Stamp,...  love, love, love.  I even changed the name. I call it the Stamping Tool.

     I love hair, so I use it to make hair.

     I found a video that's not too advanced. Some of them were pretty complex. I might go back and do something on the one that removes dark circles under the eyes (God knows we need that).

https://www.youtube.com/watch?v=ybuOwk0a3jU

     I'm giving an example of how I use the Stamping Tool to make crazy hair. If you notice, her hair is now bigger than the original picture.  Bam!